espousing

Saturday, May 16, 2009

another guitar on the way

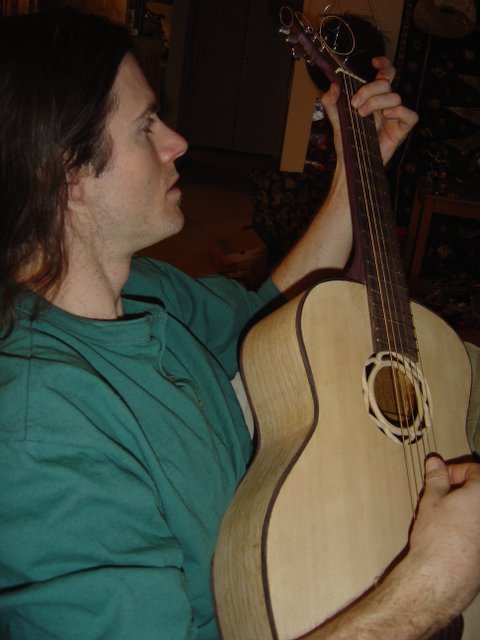
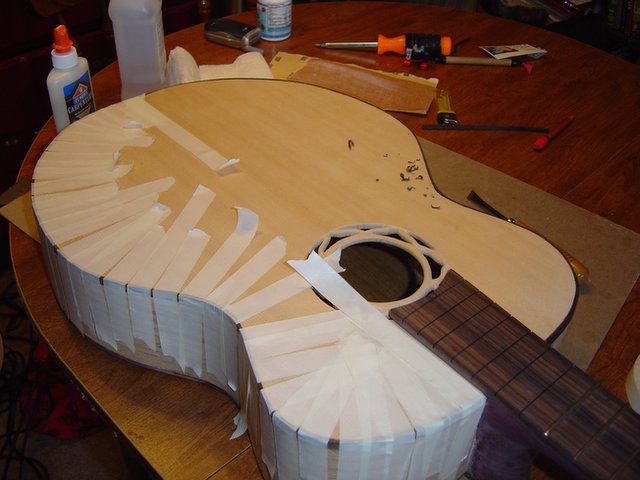
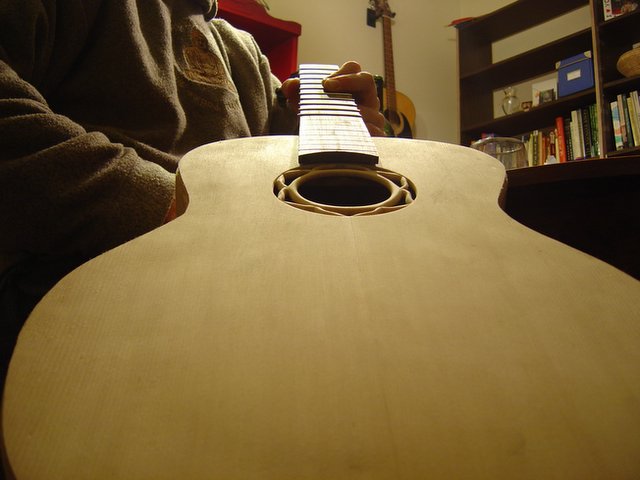
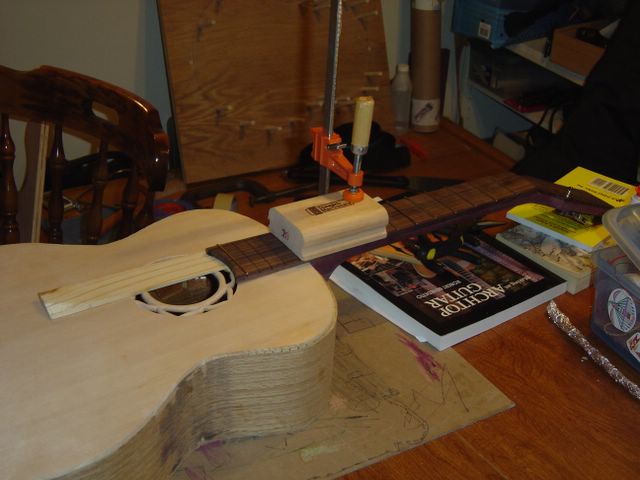
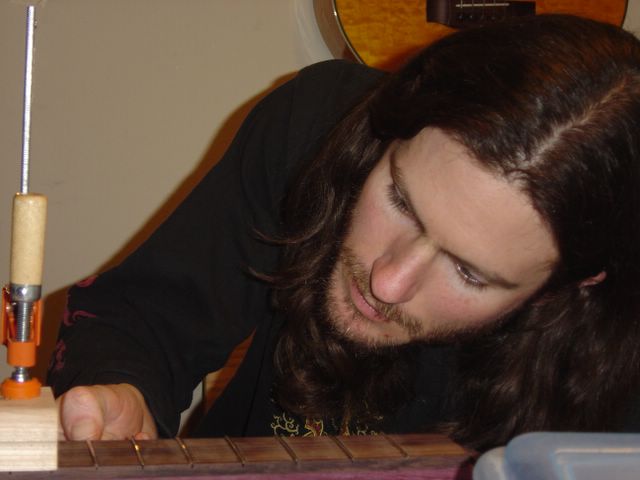
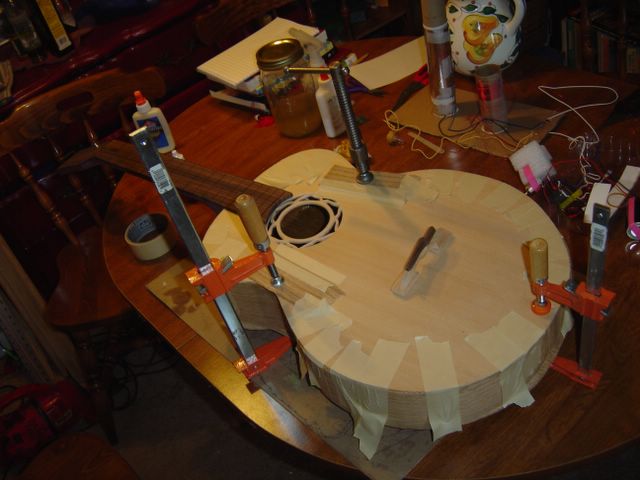
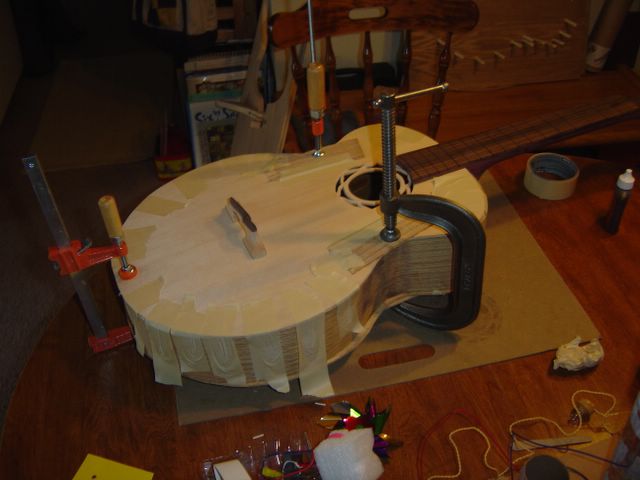
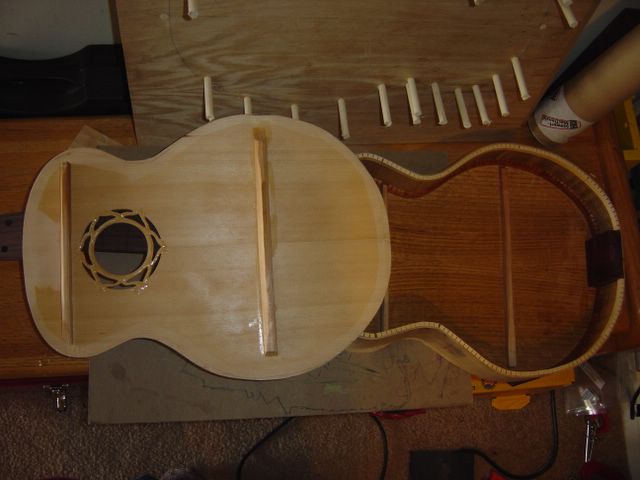
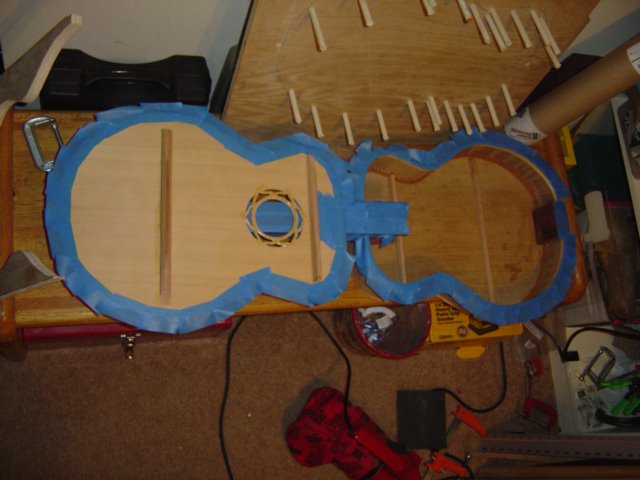
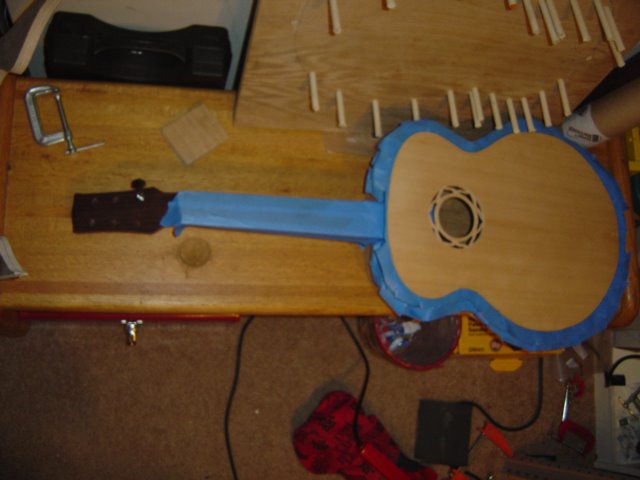
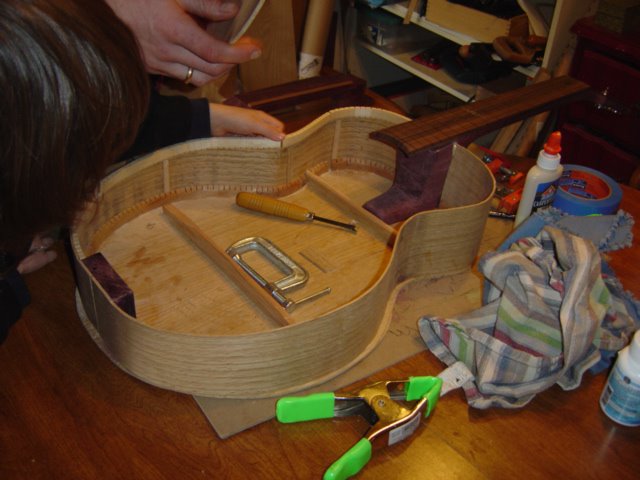
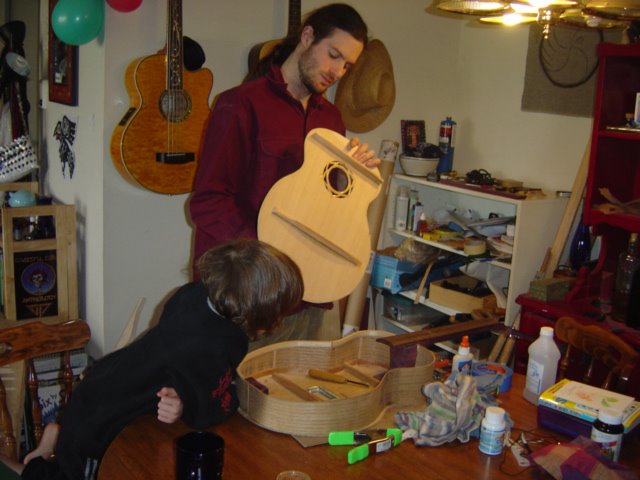
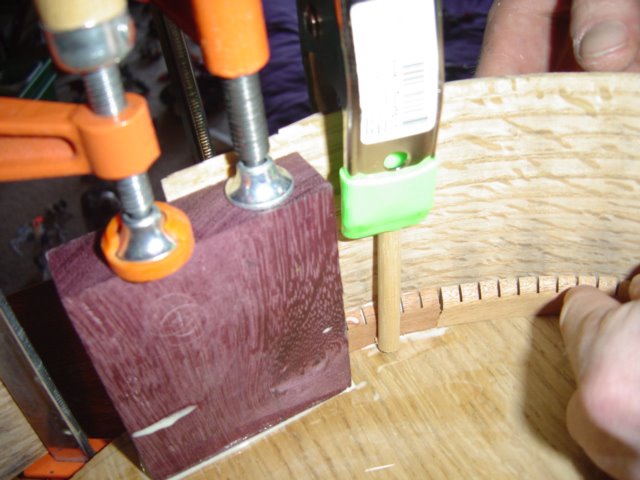
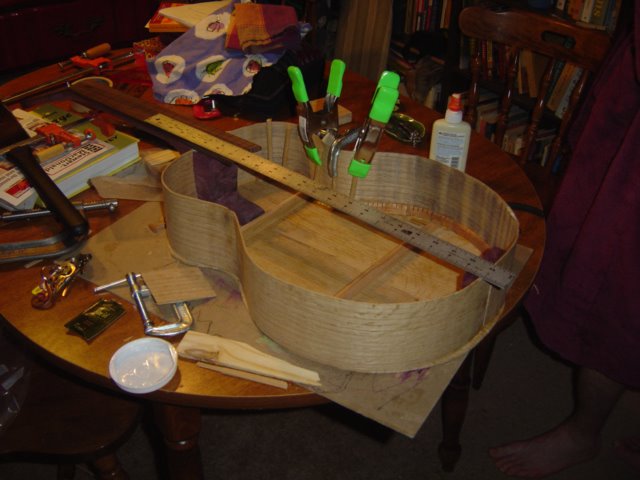
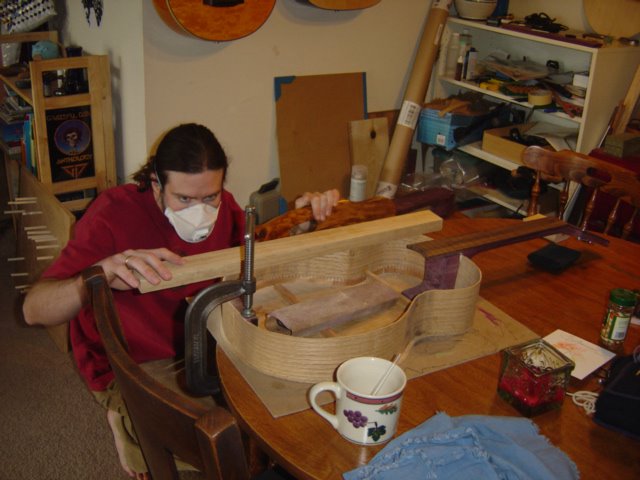
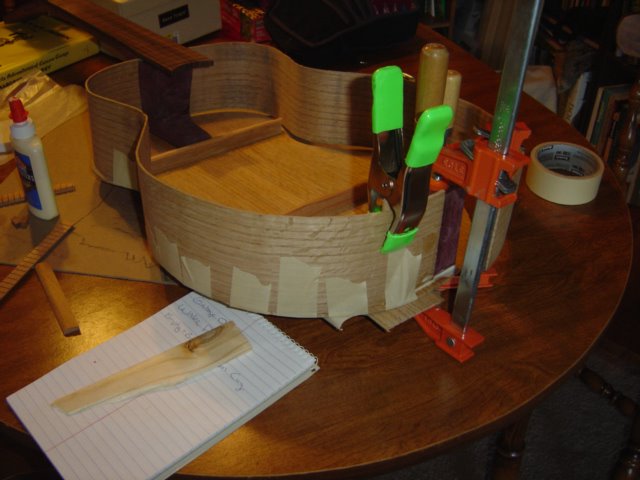
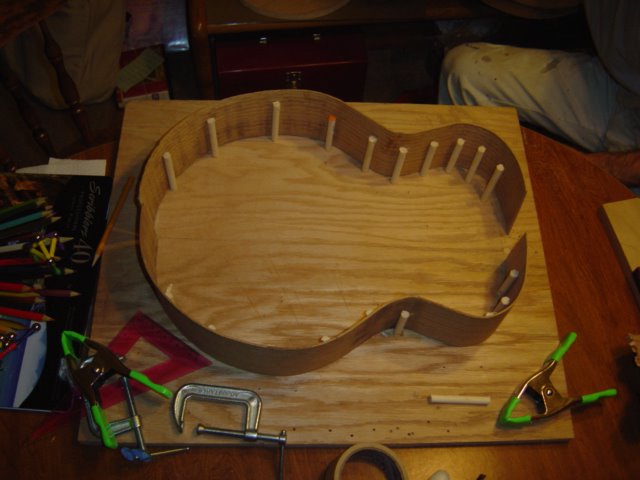
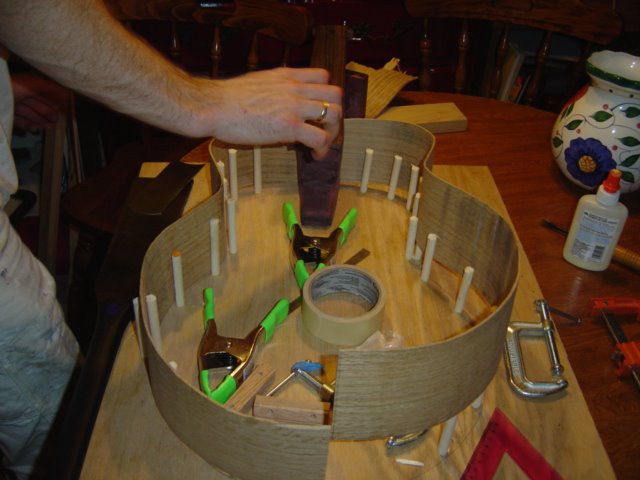
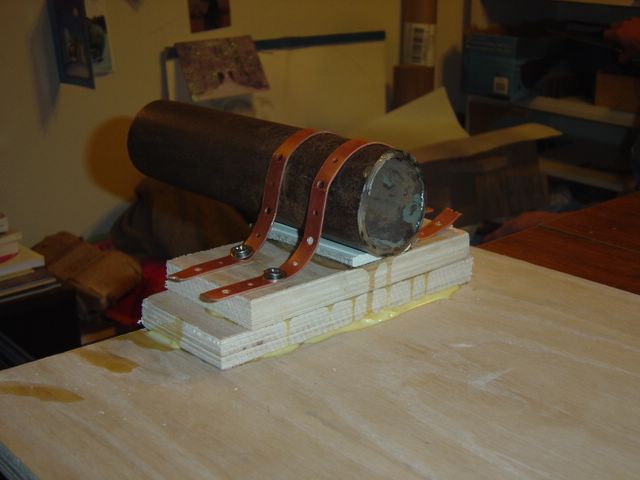
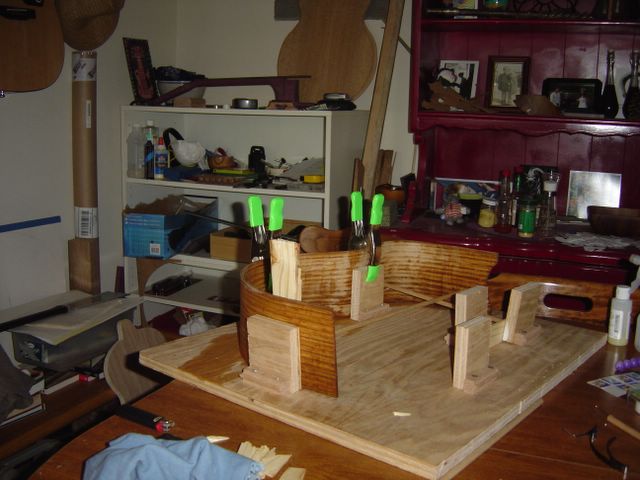
I have been slacking on Matt's latest adventure, but he is in the process of making another guitar, and I did manage to start taking pictures about halfway through. I wish I had caught the beginning, though. It is really interesting to see raw boards turn into something so curvaceous and smooth.

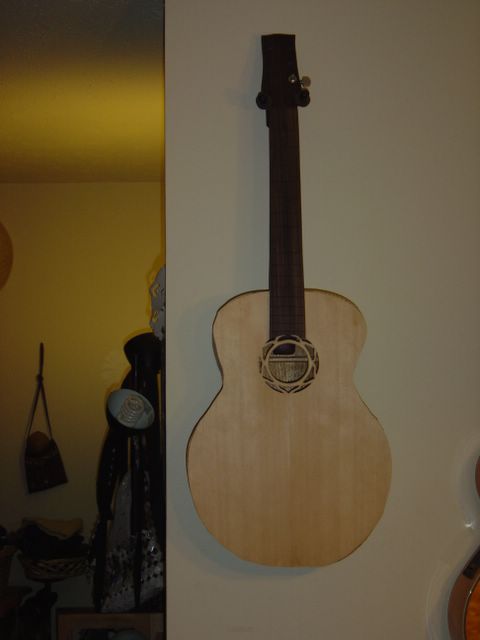
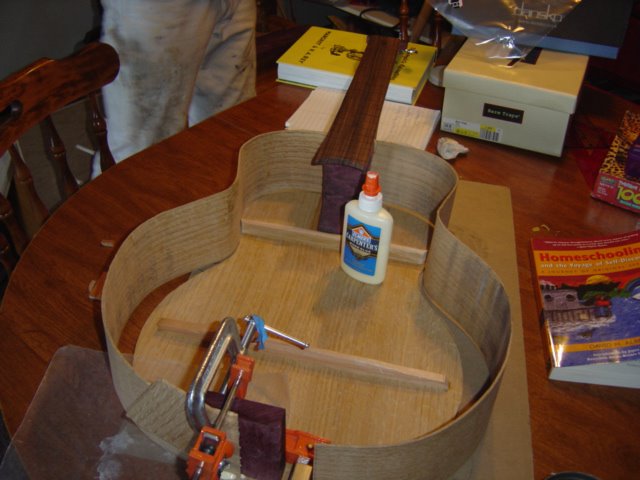
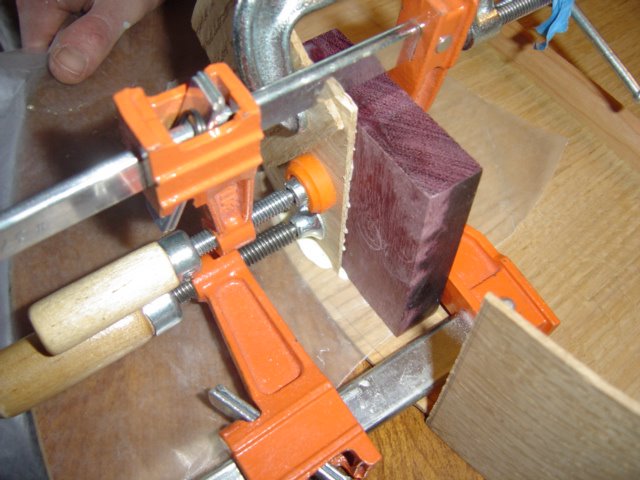
This time, it is an electric guitar. Made of purple heart with an ebony fingerboard.

It has a regular fretboard, and is currently awaiting pickups. It sports a fancy bridge system that allows each string to be set for 3 different tunings. It also has a nut equal to such shenanigans.

Pictures to come shortly.

Saturday, June 09, 2007

He's at it again!!!
Posted by Picasa

Sunday, February 19, 2006

Well, here it is! I missed out, once again, on capturing some of the last efforts on camera. Actually, at this very moment, he is at his folks house working on the finishing touches.

In this picture at left, he strung it up to play it, as soon as he possibly could, although there was still some work to do on the instrument. He was, understandably, excited to hear what it was going to sound like.

After playing it for a few days, he took the strings off, and commenced the finish work, such as filling & sanding. Today, he is applying the lacquer, after which, he must wait a few days before playing it again.

I do have some more photos, which I intend to upload, and eventually organize this blog a bit better as well. Meanwhile, if you start in November of last year (see the archives in the sidebar), scroll down to the bottom of the page and move forward, you will get a chronological sequence of the North Coast Guitar Project. Posted by Picasa

Monday, February 13, 2006

He worked on the binding while I was at work.

Once again, he had to fire up the bending tools, and get the binding into the right shape. Here is the second side of binding work, having been glued, and taped to hold it on while it sets up.

 Posted by Picasa

Sunday, February 12, 2006

It is now together. The binding is the next step. Posted by Picasa

Monday, February 06, 2006


Time for the frets to be put in.

 Posted by Picasa


Here it is! All put together & hanging on the wall. There is still a lot of work to do, but it is really coming along. Posted by Picasa


Finally! The top is being attached.

Here is another view. Posted by Picasa

Wednesday, February 01, 2006


And finally, to bring us up to date, here is the guitar, after being lacquered on the inside. This project is really coming together! Posted by Picasa


The kerfing is all done. Now the edges have been masked off, so that the interior could be lacquered. This will seal the wood & protect it. The edges had to be masked so that the glue will stick to it when it is time to attach the front.

Here is another view. Posted by Picasa


This shot shows the kerfing on the front edge.

The front kerfing made it so that the front could not fit on, without trimming the bracing a wee bit. Posted by Picasa


Here, you can see how the sides are being glued to the back. The end block & the kerfing are glued to the sides and back at the same time, which holds the whole thing together. The dowels are bracing the kerfing, for a nice tight glue joint.

More of the kerfing has been finished at this point. Posted by Picasa


Here he is, checking the level of the sides. Posted by Picasa


The back is now getting attached. The masking tape is holding the sides to the back, so that the contour of the back is being followed. ||  Posted by Picasa


This photo shows the sides after they are fitted into the mold, and drying.

Here, the sides have been removed from the mold, and are being glued to the end-block & the neck.

Here is another view of the endblock being attached to the sides. Posted by Picasa


It has been a while since I have updated this project. I stopped, over the holidays, partially due to the nature of the season, but also due to a snag in the guitar works that I was hesitant to record. The orginal attempt to bend the sides resulted in major cracking, so they had to be started over. The second attempt went well, as he made them much thinner that time. He soaked the sides overnight in the tub, and then, using a propane torch and a piece of 2 inch pipe, bent them into the approximate shape. Then he fitted them into the mold he had already prepared. This first picture shows that step.

This is the setup for the heat-bending of the wood.

This shows the original sides being bent. The second attempt happened while I was at work, so I missed capturing it on film. Posted by Picasa